Paint For Water Damage. Tips from Professionals
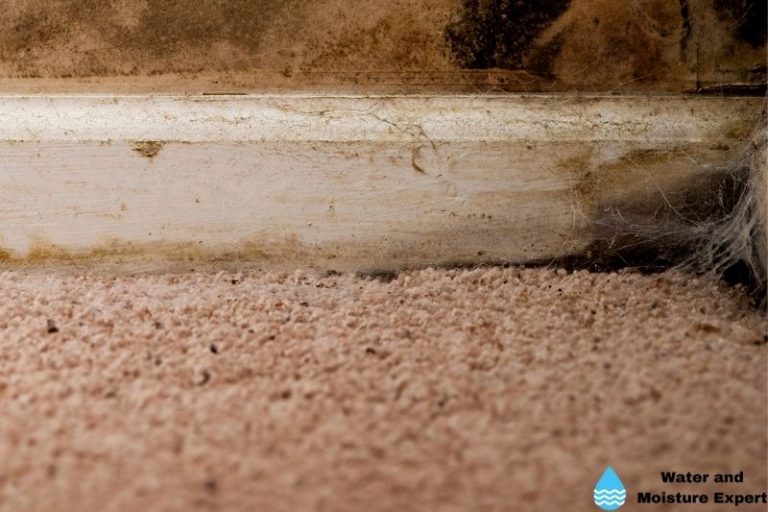
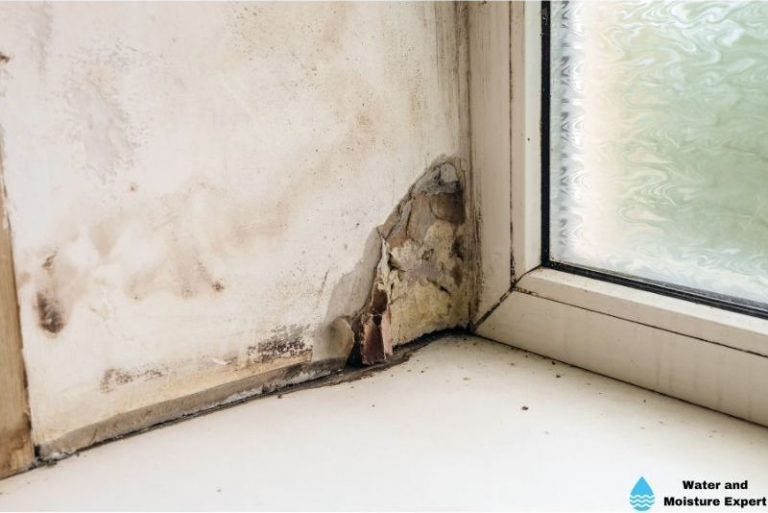
Water damage is no joke, especially when the culprit is a leaky pipe or roof. When water seeps through your wall, it can cause mold and lead to stains on the wall and ceiling. If not remedied quickly, these problems will only get worse. After you have fixed the leak, the next step is to mask the spots that show the water damage by repainting it.
Generally, you can use regular paint for areas with water damage. Ensure that the area is completely dry and clean. When you paint over paint, remove all loose paint. Then add a layer of a special primer. This primer will form a barrier between the stain and the new paint. If you do not use a primer, the stain will become visible again after some time.
In this blog post, I will explain what type of paint you should use for water damage. How you can paint over water-damaged paint, and how you can paint over water-damaged wood.
Contents
- 1 Can you paint over water-damaged paint?
- 2 How do you cover up water stains in paint?
- 3 How do you paint over water stain on ceiling?
- 4 How do you paint a water-damaged wall?
- 5 How do I get brown water stains off my ceiling?
- 6 Painting over water-damaged wood.
- 7 Remarks for painting water damaged materials
Can you paint over water-damaged paint?
You can paint over water-damaged paint, but the stains will return without using the correct method. The first step is to ensure that you have fixed the water source problem on the wall or ceiling. Otherwise, it will only be a temporary solution until the water returns.
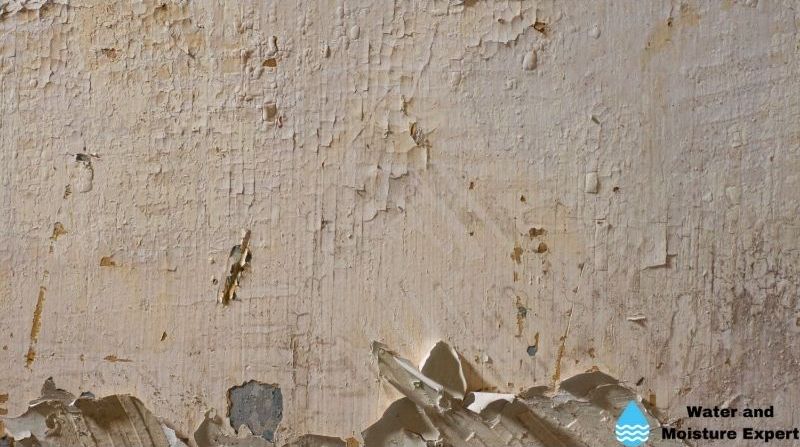
After doing the necessary repairs, scrape off any loose old paint. And ensure that the surface you are painting is completely dry. Then apply a new coat of suitable primer. This primer ensures that the stains do not damage the new paint. You can purchase primer in different colors and use the closest one to the final color.
If the primer is dry, you can finish the job with one or more layers of regular paint in the color you prefer. Keep in mind that when painting a few local spots, and the original paint is a lot older, it can result in color differences between the new and old paint. If it is in a visible location, I recommend repainting the entire area, including parts that were not damaged.
How do you cover up water stains in paint?
Water stains can be pretty irritating and take away the beauty of your painted wall or ceiling. Depending on the scale of the damage, you can either remove the old paint and replace it. Or paint over the stain. When painting over a water stain, you need to use a special primer first to isolate the stain from the new paint.
But before you start painting, the first step is always to ensure that you have fixed the leak. When that is done, clean the area. If the area is larger, I recommend removing the old paint. If the area is full of mold, you need to remove that first. Consider using chlorine bleach or disinfectants to clean the moldy areas effectively. But generally, when you notice mold, I always recommend asking a professional for help. Removing mold can be difficult, and you do not want to get the mold back.
If you plan to paint over the old paint with the stain, apply a stain-blocking primer. This primer will form a blocking layer between the old and new paint, and this will help cover up the blemish and prevent them from showing through the paint. After that, you can paint over the stain.
If the stained location is clearly visible, it can be necessary to paint the whole wall, ceiling, or the affected surface for uniformity. It can be pretty challenging to have a patch blend in with the rest of the area.
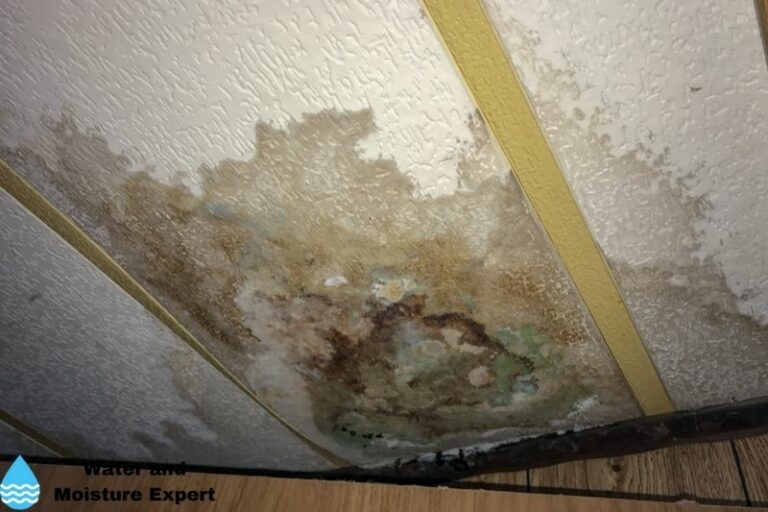
How do you paint over water stain on ceiling?
To paint over water stain on de ceiling, you should follow a few steps:
● Step 1: Fix the reason for the stain
Before covering any stains on the ceiling with paint, the first step is to make sure that the cause of the leaks is taken care of correctly.
● Step 2: Clean the area
Secondly, clean the stains to help get rid of the coloring and unwanted dirt or mold. This helps to improve the paint and the primer adhering to the ceiling surface. Ensure that if you have mold, that it is taken care of correctly. If needed, ask a professional to help.
● Step 3: Cover the stain with a suitable primer
Use a suitable primer to cover the stain. Always apply it to a slightly larger area. The primer will form a stain-blocking layer between the old and new paint. If available, choose a primer color close to the final paint color. That way, you will need fewer layers of regular paint.
● Step 4: Paint the damaged area
When the primer is dry, you can start painting it with the preferred color. Keep in mind that the color will look different after applying the paint. Wait until the paint is dry to see a significant color difference between the new and old paint. If you still see the color of the primer through the fresh paint, you might need to add multiple layers.
Particularly if the old paint on the ceiling is older, you can notice a color difference. This has nothing to do with the stain itself. When paint gets older, it will change color slightly. If this is the case, you might need to repaint the whole ceiling or a bigger part of it.
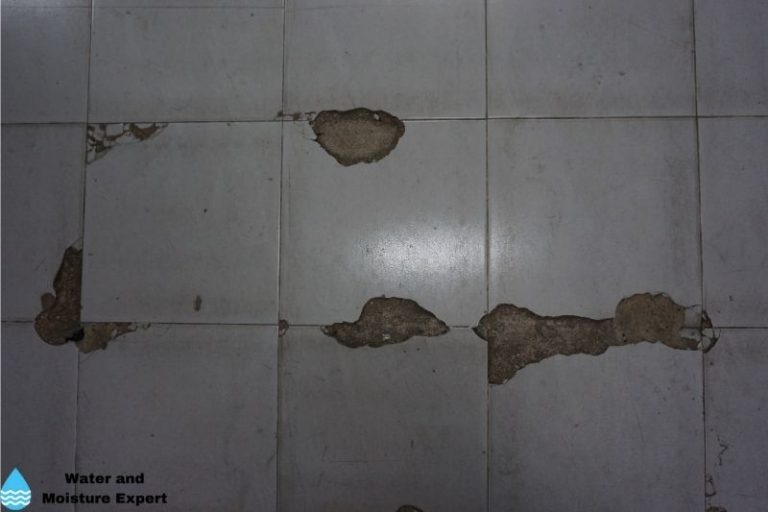
How do you paint a water-damaged wall?
For painting a water-damaged wall, you can use the following steps:
● Step 1: Fix the reason for the water-damage
Before covering any stains on the wall with paint, the first step is to make sure that the cause of the leaks is taken care of correctly. If you do not find the reason, the water damage van return in the future.
● Step 2: Clean the area
Secondly, clean the stains to help eliminate the coloring and unwanted dirt or mold. You can use a scraper to remove loose paint. Cleaning helps to improve the paint and the primer adhering to the wall surface. You can use bleach and water for this step, clean the surface, and dry it. Ensure that if you have mold, it is taken care of correctly. If needed, ask a professional to help.
If the damaged area is large, you should consider removing the paint and repainting the whole wall. You can follow the next steps and paint over the damaged area if the area is smaller.
● Step 3: Cover the stain with a suitable primer
Use a suitable primer to cover the stain. Always apply it to a slightly larger area. The primer will form a stain-blocking layer between the old and new paint. If available, choose a primer color close to the final paint color. That way, you will need fewer layers of regular paint.
● Step 4: Paint the damaged area
When the primer is dry, you can start painting it with the preferred color. Remember that the color will look different directly after applying the paint. Wait until the paint is dry to see if there is a large color difference between the new and old paint. If you still see the color of the primer through the new paint, you might need to add multiple layers.
Mainly if the old paint on the wall is older, you can notice a color difference. This has nothing to do with the stain itself. When paint gets older, it will change color slightly. If this is the case, you might need to repaint the whole ceiling or a more significant part of it.
How do I get brown water stains off my ceiling?
As with all water stains, ensure that you have fixed the leak that caused it. You can remove the stains using a bleach solution. Mix three cups of warm water with one cup of bleach. Spray the affected area of the ceiling with the mixture, let it sit for around thirty minutes, then spray again. Let it dry as you check for any persistent stains.
The bleach solvent will also help with grease, dirt, and mildew. Always check for mold. If you see any trace, you have to do something about it immediately. I recommend asking a professional for help if you are unsure how to do this.
Most importantly, before undertaking the cleaning work, please make sure you wear protective gear like gloves and masks, as the bleach can affect some people’s skin, and inhaling the bleach fumes for extended periods, might be harmful.
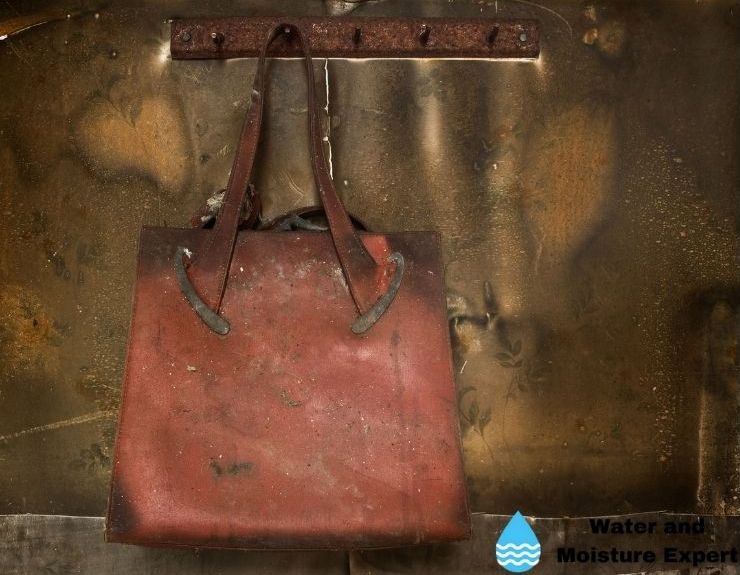
Painting over water-damaged wood.
Wood is generally one of the more water-sensitive products in your home. Wood can be damaged by a wide array of things ranging from small insects such as mites to other accidental instances such as fire. One of the most common reasons for damage is water. If you do not take proper care of your furniture or wooden floors, they can gradually rot. Leading to extra unnecessary repairs or replacement costs.
Use the following steps if you need to paint over water damaged wood:
● Step 1: Remove rotten parts
The first step is to check if rotten parts are in the wood. If that is the case, remove them using a metal scraper or a putty knife. And if there is any peeling paint, get rid of it.
● Step 2: Fill the damaged areas
Fill the spaces where you have removed the damaged wood with a wood filler, then let it dry. The filler helps ensure that the entire piece of wood is uniform and free of any dents from where you’ve removed the damaged parts. Don’t forget to use a paintable filler for great results, as you’ll have to paint the whole area as the last thing.
● Step 3: Sand and clean the damaged area
Using sandpaper, sand the damaged area to smoothen the places where you’ve used the filler and remove any remaining paint and dirt to prepare the wood for a coat of primer and painting. Do not skip over this process, as it helps keep the wood looking all straight, without any unwanted ‘bumps.’ Next, wipe away the dust from sanding using a damp cloth, then let it dry.
● Step 4: Apply a wood primer
After everything smoothens out, apply a wood primer evenly on the affected area to help strengthen the wood when it eventually dries. You can then get the paint job done when the hardener is dry, starting with a wood primer.
If the stains aren’t much, one coat of the wood primer should be enough; apply it on the entire piece of wood, and then let it dry.
● Step 4: Paint the wood
After the primer has dried, use a roller or a paintbrush to paint over the wood and allow it to dry carefully. Depending on the level of shine and protection you want for the repaired wood, you can apply another coat of paint but make it slightly lighter than the first layer.
Remarks for painting water damaged materials
● Ensure the leak is fixed
Before starting the repair process, you will still need to examine and repair the leak’s source. Ensure there is no moisture and water that can damage the wood further. That way, any renovation work will not go to waste or require any more repairs in the future.
● Use protective gear
When you start painting water-damaged wood, you should use protective gear. Primers and paint can irritate your nose, eyes, and throat. In addition, exposure to paint for extended periods can have health effects.
● Ensure proper ventilation
Ensure proper and adequate ventilation to allow for good air circulation when you are repairing damaged surfaces in your house. This applies both to using wood filler and when painting.