Water Damage On Your Wall. Tips From Professionals
If your home has been affected by a flood, you may be wondering if there is any water damage. Water damage is sometimes easy to notice or obvious, but it can also be hard to see until it becomes severe. If you suspect your walls or home could have water damage, you should inspect the area as soon as possible.
If you notice water damage on your wall, the first step is to locate and fix the leak. Let the wall dry completely. Depending on the wall type and severity of the damage, you have to replace the damaged area or fix it without replacing it. Use a suitable primer if you paint your wall.
In this article, I will further explain the signs of water damage in walls and how to fix them. I will show you what to do if you want to hide the water damage on your wall and how long it will take for water damage to show.
Contents
Do I have to fix a water-damaged wall quickly?
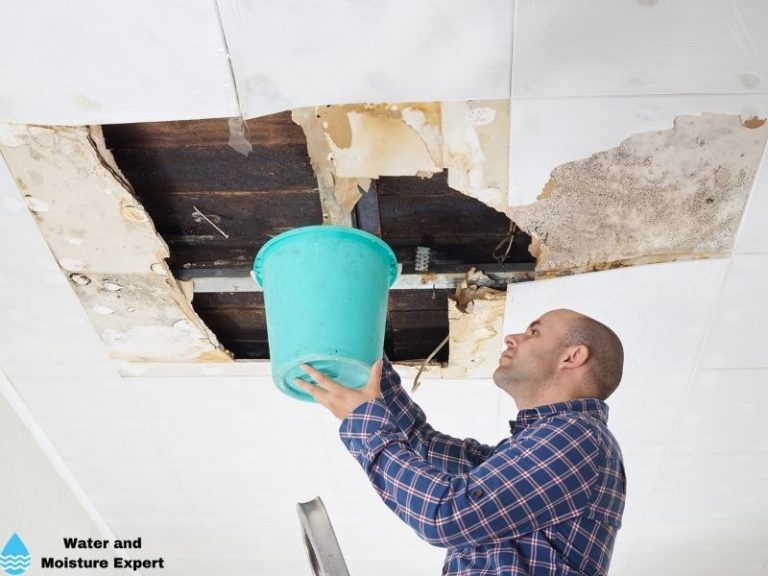
If you suspect a flood or a leak could be the reason for the water damage, you will need to repair the leak as soon as possible to prevent the water damage from getting worse. The sooner you can find the water damage, the sooner you can start making your repairs.
The longer the water damage is left untreated, the worse it will become and the more expensive it could cost to make the repairs. Particularly mold is something you do not want to have, as it can spread to other areas if not dealt with quickly and correctly.
If you aren’t sure if you can make the repairs yourself, you may want to hire a professional to make them for you. Here are some tips that can help you with your repairs.
Signs Of Water Damage In Walls
There are many types of water damage, and the signs can sometimes vary. If you have never seen a water-damaged wall before, you might not even recognize some of the signs. Water damage can be hard to notice at times, but the sooner you recognize it, the sooner you can make your repairs. Here are some of the most common signs of water damage to walls:
● Water Damage In Walls: Discoloration
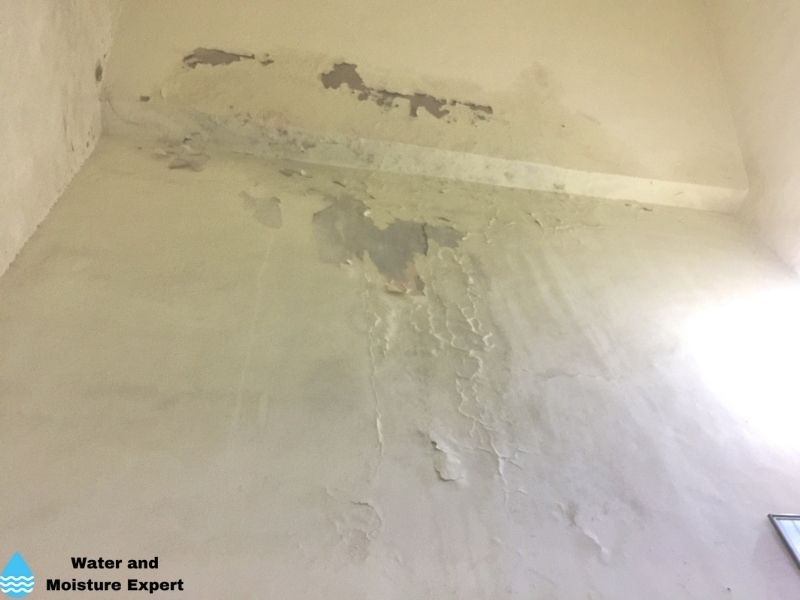
Discoloration is one of the first things you might notice if your walls have water damage. Your walls may have brown or dark streaks running down there, spots may appear on the walls, or they may even start to look yellow or black. This means the water has started to come through the walls and is breaking down your drywall or wood to cause discoloration.
● Water Damage In Walls: Soft Spots
Your walls will likely develop soft spots as the water continues to break them down and be absorbed into them. You can feel them by gently running your fingers along the walls. They may be wet when they are soft, or they can stay soft after they dry. Pushing on these soft spots too hard can cause holes and damage the wall.
● Water Damage In Walls: Water Drips
If you have an active leak that is causing water damage to your walls, you may be able to see the water running down the walls. While this can be stressful to witness, it can also be helpful in finding the source of the leak so you can make your repairs. You may try wiping and drying the walls to reduce the chance of more severe water damage.
● Mold Growth
Any time there is water or moisture in a wall, there is always a chance for mold growth. Mold loves to grow in dark, damp places, and walls can be a perfect environment for it. Mold growth can grow inside the wall without knowing it but also appear on the outside of the wall.
Do not underestimate mold, as it can be bad for your health. First, ensure you fix the leak, then remove the mold. If you are unsure how to do this, let a professional remove any mold in your home. It can easily spread to other areas if it is not handled and removed properly.
If you have problems with water in your home, I always recommend checking for mold. Mold can start in a few days, with perfect conditions.
How Do You Fix Water Damaged Walls
How you fix your damaged walls depends on the type of damage and the severity. In general, you will want to follow these steps to make the repairs correctly.
● Step 1: Locate The Problem
Before starting any repairs, you need to find the source of the leak or flood. If you don’t put a stop to the leak, the water will continue to cause problems, and any repairs you do will be useless. Check pipes, appliances, and open windows or doorways to see if water could be leaking from any of these areas.
If you suspect the water leak comes from the roof, understand that water can follow a long route. And that it will only leak when it is raining, heavy rain, or raining with the wind coming from a specific direction. This will make locating the problem more challenging. I recommend using a hose to find the problem or asking a professional for help.
● Step 2: Dry The Walls
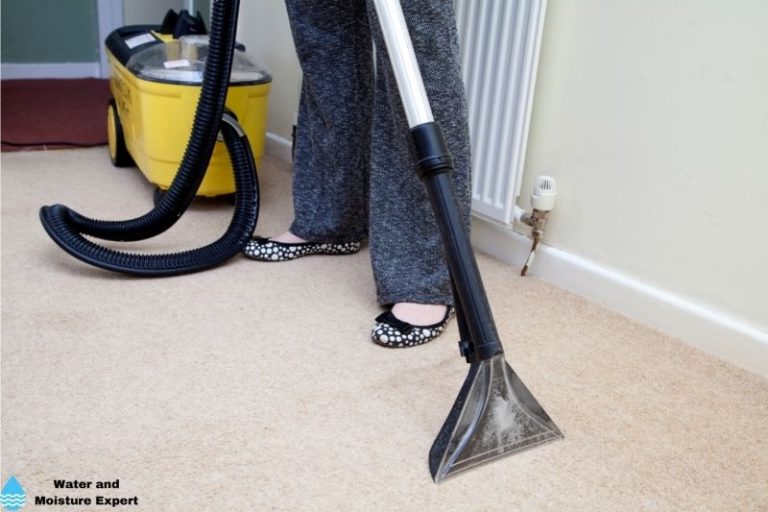
You won’t be able to get an idea of how severe the damage is until you have given the walls plenty of time to dry. You can allow them to air dry naturally or use fans to dry the walls faster. When the walls are dry, you can check them to see if there are portions that can be repaired or if larger sections need to be replaced.
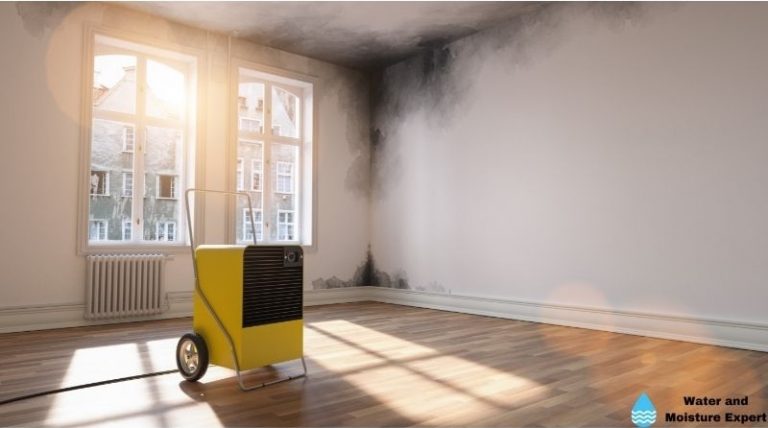
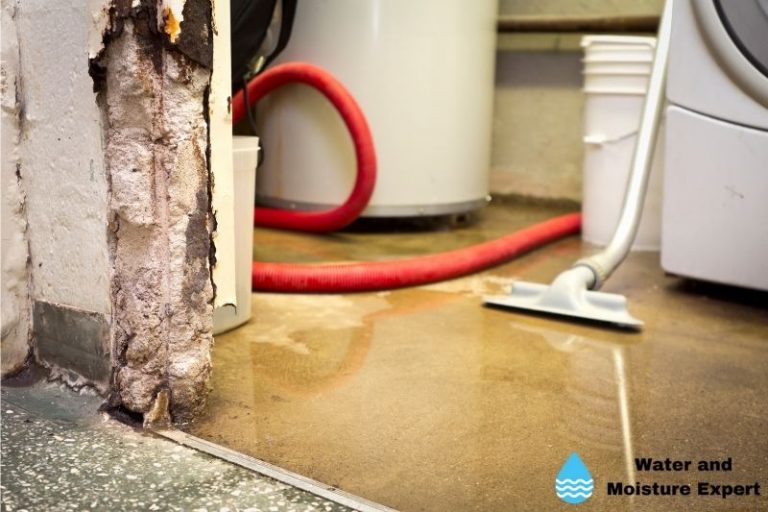
If you want to speed up the drying process, use your air conditioner if you have one. Or use a dehumidifier. A dehumidifier pulls in the moisture from the air and dries it out to release dry air back into the room. I always recommend renting commercial dehumidifiers, as they can remove much more water per hour than residential ones. When used with a fan, it will be highly effective at drying out the drywall quickly.
Drying your wall takes time. The outside of the wall may look dry, but that doesn’t mean the inside is dry.
● Step 3: Remove Damage Areas
Depending on the material, you may need to remove some areas of the wall that are damaged and cannot be repaired. If your wall is made from drywall, it would be best if you used a knife or razor blade to cut away the drywall to remove it in a square. Cut a little outside the damaged area and discard the damaged materials. You can also check inside the walls to see if there is more damage than suspected or any sign of mold growth.
If your wall is made from wood, drying may be sufficient. Only when a part is rotten should it be replaced. If the area is small, you can remove the rotten wood, treat the area with a product against rotting, and use wood filler to fill the holes. For more extensive areas, I recommend replacing the damaged wood.
● Step 4: Patch The Wall
Use plaster and a patching kit to fix the area of the wall that was removed. You may need to apply more than one layer of plaster to cover the hole you made. Sand down the plaster between each layer and allow it to dry thoroughly.
For a wooden wall, replace the parts that were removed with new wood. Ensure that the wall is level after replacing the damaged areas, particularly if you paint it. You can sand the wall if needed, and to raise a lower area, you can use some plaster. If you use wallpaper, minor imperfections will be covered by the wallpaper, but I recommend fixing larger spots.
● Step 5: Paint
If your walls are painted, you can repaint them. Ensure that treat water-damaged areas that are not replaced with a suitable primer. Using a primer will help prevent the stains from bleeding through after you paint. Allow the primer to dry completely. If you can still see the stains or if they are very dark, I recommend adding a second layer of primer.
You can also add wallpaper or whatever is needed to ensure the repaired part of the wall blends in with the rest of it. If you sanded the wall properly, you shouldn’t be able to notice the patch area.
How To Hide Water Damage On Walls
If you cannot make the repairs to your water-damaged walls immediately, you may just need to hide them temporarily. If you choose to hide the water damage, you will still need to find the source of the leak and repair it, so the water damage does not worsen. Here’s how to hide the water damage
● Step 1: Dry The Wall
Dry the wall thoroughly so you have a nice dry area to work on. You can dry the area by wiping it down or just opening some windows in your home to let air flow through more easily. You can also bring in some fans to help circulate the air more easily so the walls can dry quickly and you can start your repairs sooner
For faster drying, use a dehumidifier with a fan.
● Step 2: Sand It
Sand down the wall to remove any of the wallpaper or paint that may be peeling due to the water damage. You will need to be gentle, so you don’t damage the wall.
● Step 2: Prime the damaged area
Before painting the damaged area, you have to use a primer. A primer will help prevent the stains from bleeding through after you paint. Without using it, you will still see the stain in almost all the cases. Once the wall is sanded down and you have a smooth surface to work on, apply the primer and allow it to dry completely. If you can still see the stains or if they are very dark, you can add a second primer layer.
● Step 3: Paint
When the primer is dry, you can start with painting. If you fixed the leak correctly, the wall should look and stay fine.
How Long Does It Take For Water Damage To Show On Walls?
Water damage can show up on walls very quickly. The time depends on the amount of water leaking and how soon you stop it. The water damage will be very obvious if there is a large leak. The walls can become discolored and soft within a few hours of a leak.
Some leaks only happen only intermittently when a certain condition is met. Like heavy rain, or combined with rain and wind. Or the leak is small, and it takes some time before it reaches the wall and becomes visible.
Water Damage In Walls Mold
One of the biggest problems, when a home has a leak or a flood is mold growth. Mold grows quickly in damp areas, and when a leak or flood occurs, the area behind the walls can be the perfect place for mold to spread and grow. If you do find mold growing on or in your walls after water damage, you should do something about it as soon as possible.
If you don’t feel comfortable doing this yourself, you should call a professional. If you cannot remove the mold properly, you could cause the mold spores to spread through the home and cause the mold to grow in other areas of the home. Mold can harm your health, and it’s not wise to leave it in your home for any time.
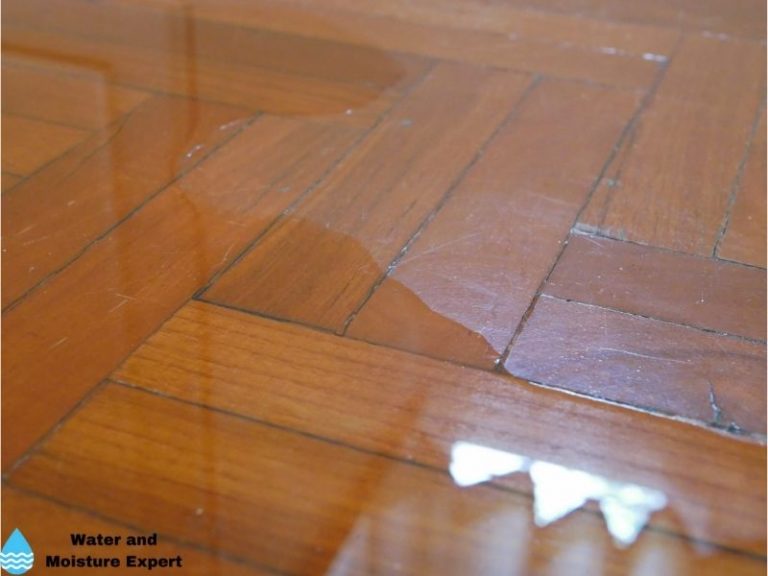
Water Bubble In Wall
If you see a water bubble on your wall, you might be wondering what to do with it. Your first thought may be to pop it. You will need to pop the bubble if you are going to drain the water out of the bubble so you can make the appropriate repairs. But before fixing the wall damage, be sure to find the source of the leak. A wall bubble can be caused by a leak from an appliance, a toilet leak, a sink leak, a roof leak, or even a small flood. When the bubble has popped and the water has drained, you can wait for the wall to dry and then start making your repairs. You can repair a water bubble in the wall the same way you would repair any other type of water damage.