How To Repair Water Damaged Drywall. What Pros Say
If you have drywall in your home, finding out that it has been damaged by water can be a nightmare. Drywall and water simply don’t mix, and even a little flooding or a minor leak can cause severe damage to your drywall. If you find yourself dealing with wet drywall, consider these tips from professionals that may be helpful to you.
How to repair water damaged drywall:
After fixing the leak, cut out the damaged drywall part. Cut or buy a sheet of drywall that will replace the missing piece. Add it to the cutout and add plaster around the edges to seal it. Sand the plaster and prime it. When dry, you can start painting it. Don’t forget to check the seals.
In this article, I will explain in more detail how to repair water-damaged drywall around your shower, bathroom, and ceiling. I will also show how to fix a water bubble in your drywall and water-damaged wall plaster. If you do not feel safe fixing it yourself, ask a professional for help.
Contents
Repair Water Damaged Drywall Around Shower
The drywall around a shower can easily become damaged by water that leaks out of the shower doors, sprays out from behind the curtain, or simply splashes out during a bath or shower. Particularly when the seals around the floor or ceiling are not in good shape or the paint or top layer is damaged. The more water that gets on the drywall, the more severe the damage.
● Step 1: Remove The Damaged Area around the shower
Use a knife to cut out the damaged sections of the drywall. If a large area is damaged, it may be easier to replace it with sheets.
● Step 2: Match A Replacement Piece
Cut or buy a sheet of drywall that will replace the missing piece. Add it to the cutout and add plaster around the edges to seal it.
● Step 3: Sand The Plaster
Once the plaster is dry, you will need to sand it down to make the surface smooth. You may also need to add more coats of plaster and sand them down again until you get the perfect finish.
● Step 4: Prime and Paint
You should use a primer to help cover up the plaster and ensure the paint adheres better to the walls. You might need to apply several coats to the wall to ensure the plaster is completely covered and smooth. You may also need to apply more than one coat of paint to create a smooth wall.
● Step 5: Check if all the seals are in good shape
The last step is to check if all the seals around the drywall are in good shape. Like the ones between the floor and the drywall, the ones near the ceiling, and the ones between the shower area and the drywall. If you are unsure about the quality, or they are in bad shape, I recommend replacing them.
How To Repair Wet Drywall In A Bathroom
Bathrooms are usually damp and are most likely to have leaks or water damage. If you have drywall in your bathroom, it is more prone to water damage than most other locations. If the drywall in your bathroom has water damage, first ensure the leak has been fixed, then follow these steps to repair it:
● Step 1: Remove The Damaged Area
Use a knife to cut out a square section of the damaged drywall. If a large area is damaged, it may be easier to replace it in sheets.
● Step 2: Match A Replacement Piece
Cut or buy a sheet of drywall that will replace the missing piece. Add it to the cutout and add plaster around the edges to seal it.
● Step 3: Sand The Plaster
Once the plaster is dry, you need to sand it down to make the surface smooth. You may also need to add more coats of plaster and sand them down again until you get the perfect finish.
● Step 4: Prime and Paint
I recommend using a primer to help cover up the plaster and ensure the paint adheres better to the walls. You might need to apply several coats to the wall to ensure the plaster is completely covered and smooth. You may also need to apply more than one coat of paint to create a smooth wall.
● Step 5: Check if all the seals are in good shape
The last step is to check if all the seals around the drywall are in good shape. Like the ones between the wall areas, the floor and the drywall, and the ones near the ceiling. If they are in bad shape, or you are unsure about the quality, I recommend replacing them.
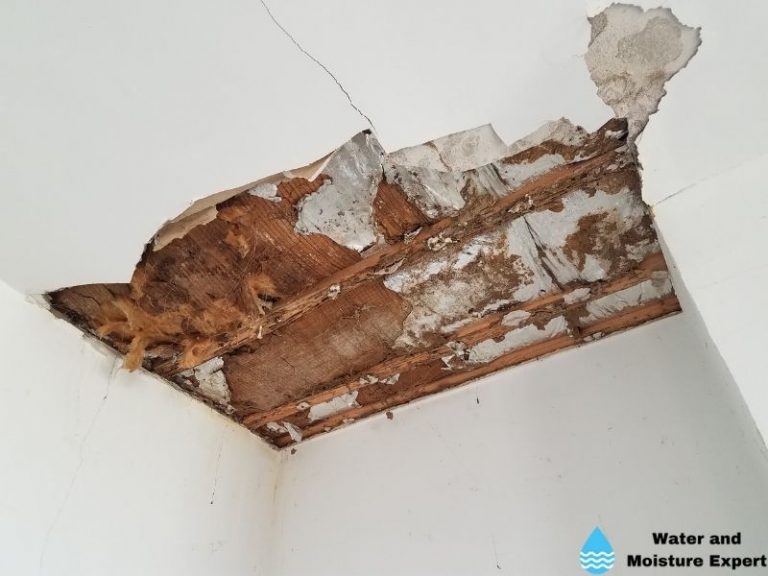
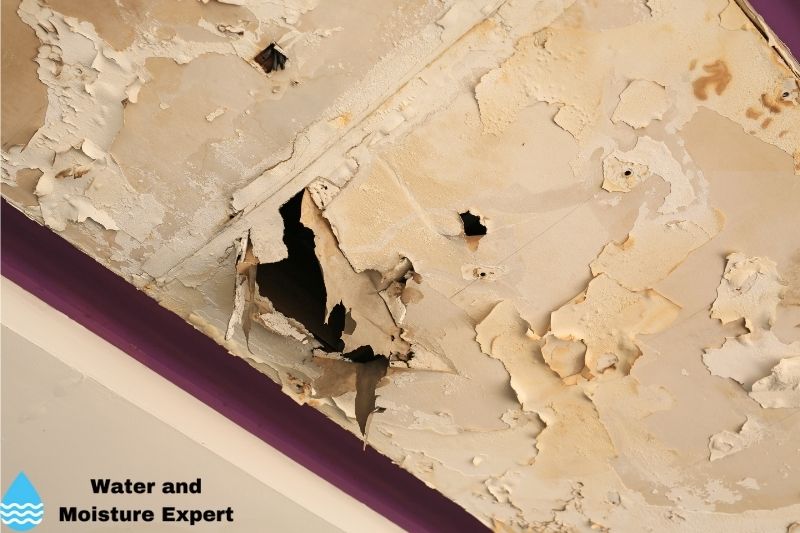
Repair Water Damaged Drywall Ceiling
If your roof or a top floor has a leak or a busted pipe, your ceiling may be damaged. If the damage is too severe, the drywall may need to be replaced. After fixing the leak, follow these steps to repair it:
● Step 1: Remove and Replace Damaged Area
Cut out the damaged section of the ceiling and cut a new piece to fit into that section. Before continuing, let the ceiling dry completely. When it is dry, you can attach it with plaster and use the plaster to fill in the gaps. Allow the plaster to dry and apply a second coat if needed.
● Step 2: Prime The Ceiling
Apply primer to the ceiling over the portion of drywall that you replaced. This will allow the paint to adhere to the ceiling and cover the replaced portion of the drywall. Depending on how well it covers the ceiling, you may need to add more than one coat of primer.
● Step 3: Paint
Paint your ceiling as desired. You may be able to find paint that matches the color of the ceiling and use it to paint the replaced section so it all matches and blends in well with the rest of the ceiling. If you are not able to find matching paint, you might have to paint over the entire ceiling to make sure it all matches.
● Step 5: Check seals between the ceiling and walls
The last step is to check if all the seals between the ceiling and the walls are in good shape. If they are not in good shape, or you are unsure about the quality, I recommend replacing them.
How To Repair Water Bubble In Drywall
If there is a leak or a drip that only reaches a small area of your drywall, then there may just be a bubble that shows up. In this case, you won’t have to replace all the drywall, just a small area instead. After fixing the leak, here’s how to do it.
● Step 1: Remove The Bubbles Area
Use a knife to remove the damaged area. Cut a straight square around the bubble and remove it. This will give you smooth edges and a simple surface to repair.
● Step 2: Dry The Area
If there is a leak that is causing your drywall to bubble, there is a good chance that the area behind the drywall may still be wet. If you replace the drywall without drying the area first, it could also cause the new drywall to bubble.
● Step 3: Replace New Drywall
Cut a new piece of drywall to fit into the piece that was removed. Fill in the gaps between the new piece of the drywall and the rest of the wall with plaster. Apply the plaster to the caps and smooth it with a putty knife. Sand the area down to make sure the entire wall is even and smooth.
● Step 4: Prime and Paint
Prime the area of the wall that needs to be painted or the entire wall if you will be repainting everything. You may need to apply more than one coat of primer to ensure the wall is ready to paint and that the plaster is covered. You can then begin to paint.
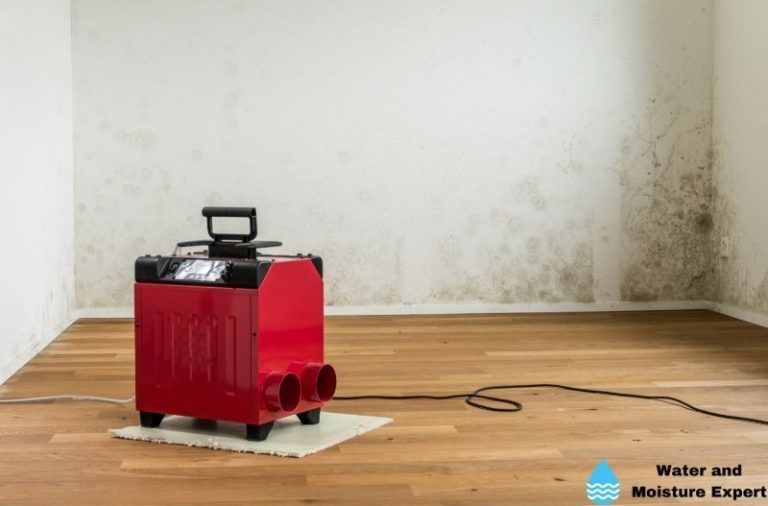
How To Repair Water Damaged Wall Plaster
If your plaster is damaged, you can repair the entire wall if the area is large or just the area affected by the damage. Here are some steps to follow to help you make the repairs properly.
● Step 1: Remove The Damaged Plaster
Before you can truly access the full damage, you will need to remove the damaged plaster areas. Plaster cannot be saved once it is wet, so you will need to chip it away or remove the wall in sections and dispose of it. Once a larger section of plaster is gone, use a wire brush to go over the area to remove any excess plaster stuck to the wall. This will create a smooth and even surface to work with.
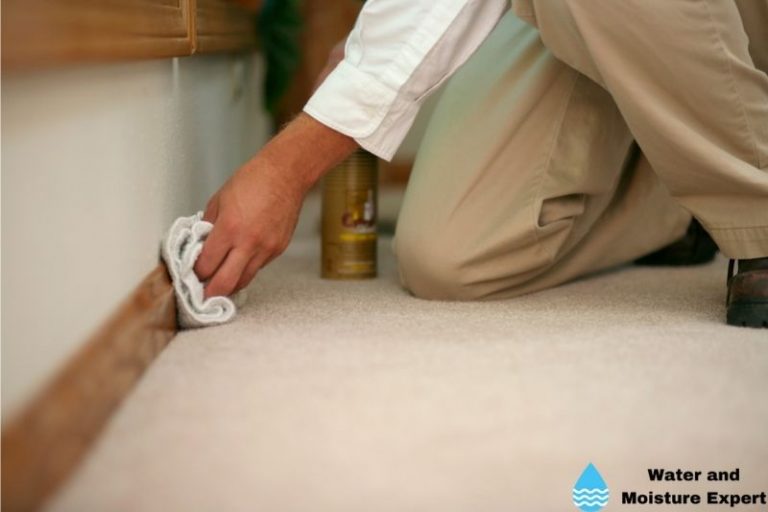
● Step 2: Seal The Wall
Seal the wall to ensure that no other water or contamination is leaking into the room and causing damage to the walls or any other plaster you plan to install. I recommend using a quick-drying sealant that will work fast. You will need to apply the sealant to any areas of the wall that have been damaged and smooth it out over the areas that are not damaged as well to ensure the wall is smooth, and even so, you can paint or patch it as needed.
● Step 3: Patching The Plaster
Use a joint compound to patch the entire area. You will need to put enough of the plaster to cover the entire damaged area and allow it to overlap with the areas around the water damage, so it has something to cling to. Make it as smooth as possible and skim off the excess to create a smooth surface. You may need to apply several layers of the patch compound to make the surface look good and fill in the missing plaster. If there is a large area of damage, you may need to find a thin board that can cover the area and then put the patching around it and blends it into the rest of the wall.
● Step 4: Apply A Second Coat Of Patching
Once the first coat has dried completely, you will need to sand it all down and apply another coat that covers the entire area and helps blend it all together. You will want to smooth this area entirely and ensure it has a final appearance that looks sleek and natural.
● Step 5: Sand And Paint
Sanding the area completely, to prepare it for painting. You may also add an additional coat of paint primer to help ensure the paint adheres to the wall properly and allow you to apply the paint more easily. Make sure you apply several coats of paint to the wall to ensure it is completely covered and so any signs of the plaster repairs are not noticeable. But let each coat dry to see if it covers well enough. When the paint is wet, it isn’t easy to see.